
Events Details
This guide will detail how to install your event details – location, booking information, times etc.
All of the following information is located under the Event Details tab located at the bottom of your event listing.

Tag
Here you are able to notify users quickly of event availability. Simply tick the relevant notice for your event.
- Event is sold out and Event cancelled – will add a relevant banner to the event card and page.
- New Event and Featured Event – This will add a relevant banner and move your listing to the top of the What’s On page.
- Do not crop featured image – using this will make sure your featured image appears in full rather than cropped on the event card and listing.

Times
The fields listed here are used to install both the Start and Finishing times of your event. These fields allow text as well so you can add information such as “Doors Open at…”.
It is recommended that when adding times to events, all events follow the same time structure, i.e. 12 or 24 hour.

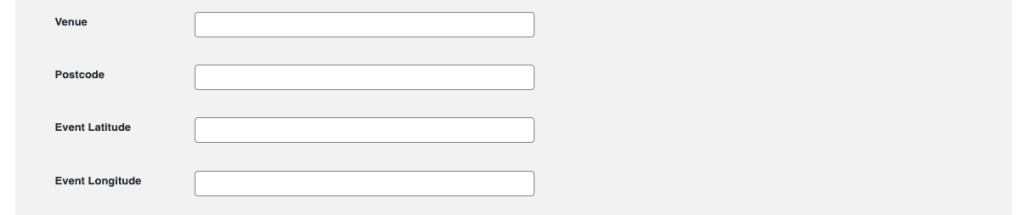
Venue & Location
Add in the location of your event.
Write your venue postcode within the field provided. By adding in your venue location postcode, the latitude and longitude will be automatically populated once you publish your event. This will add a map to your event page, allowing users to clearly identify the location of your event venue.
Price
This field is used to list any prices for your event. If you have multiple prices, use enter on your keyboard to move to the next line and continue adding prices.
If your event is free, make sure that this is listed here.

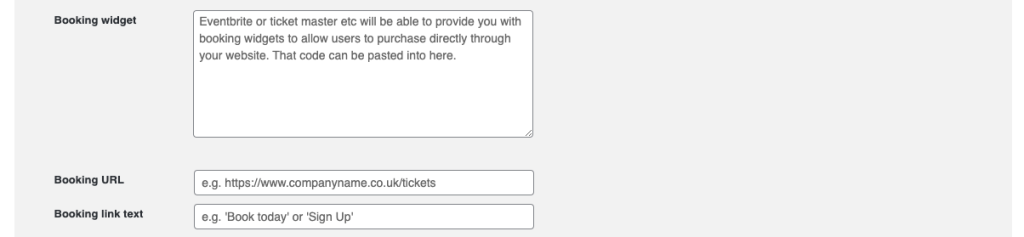
Booking Widget/URL
If your event has a listing on a third party website, such as EventBrite, you may wish to add a bookable widget to your event.
To do this, follow these steps:
- Login to your EventBrite account
- Go to “Manage events” in your account, then select your event.
- Go to “Embedded Checkout” (under “Marketing”).
- You will see two options for how your checkout appears, you need to select Embedded.
- Copy the embed code and paste this into the field “Booking Widget”
If you have a third party booking system that does not have the ability to embed a widget, you have the option to simply add a link to your event booking platform.
- Head to your booking platform and copy the URL (this will look similar to – https://www.eventbrite.co.uk/e/my-new-event).
- Paste this URL into the Booking URL field
Once completed, you will then need to install your Booking Link Text. Keep this simple – for instance, “Book tickets here”, “ Sign up” or “Tickets”.
Booking Contact
Install a contact email address and phone number to your event, simply type in your preferred contact information into the individual fields.
This is a point of contact for your event, ensure that this is installed.

Booking Notes
Install text within this field to detail any additional notes required for your event, this may be sponsorships.

Organiser
Install text within this field to detail the organiser of your event.
If the organiser has a website, providing this information to the relevant field will add an additional point of contact for user.
You must provide the full URL for your website, including the http:// or https// part.